
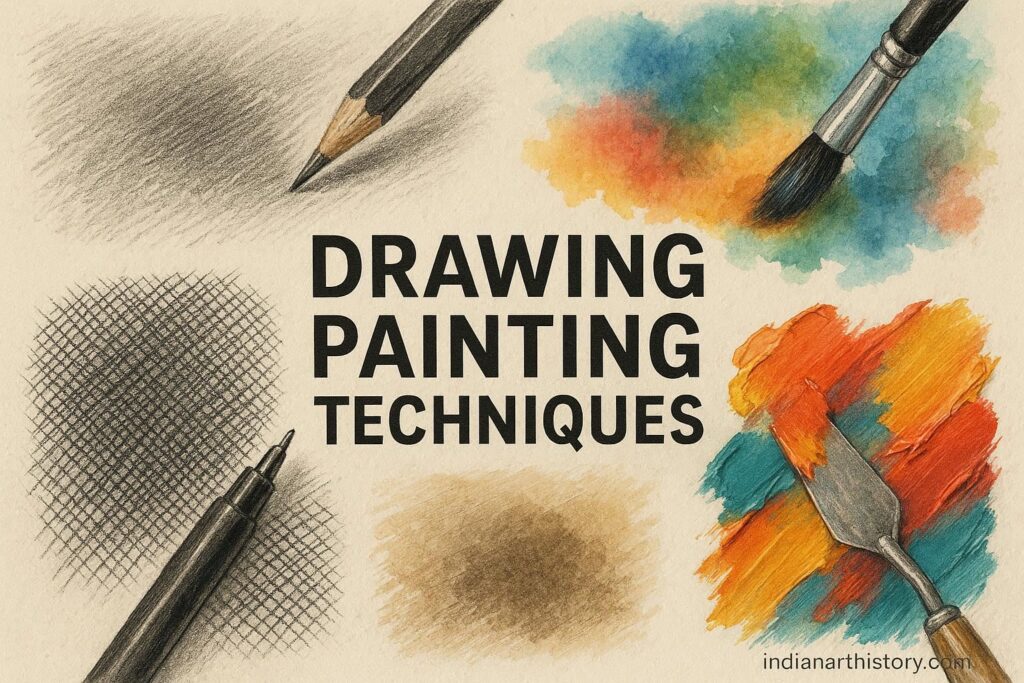
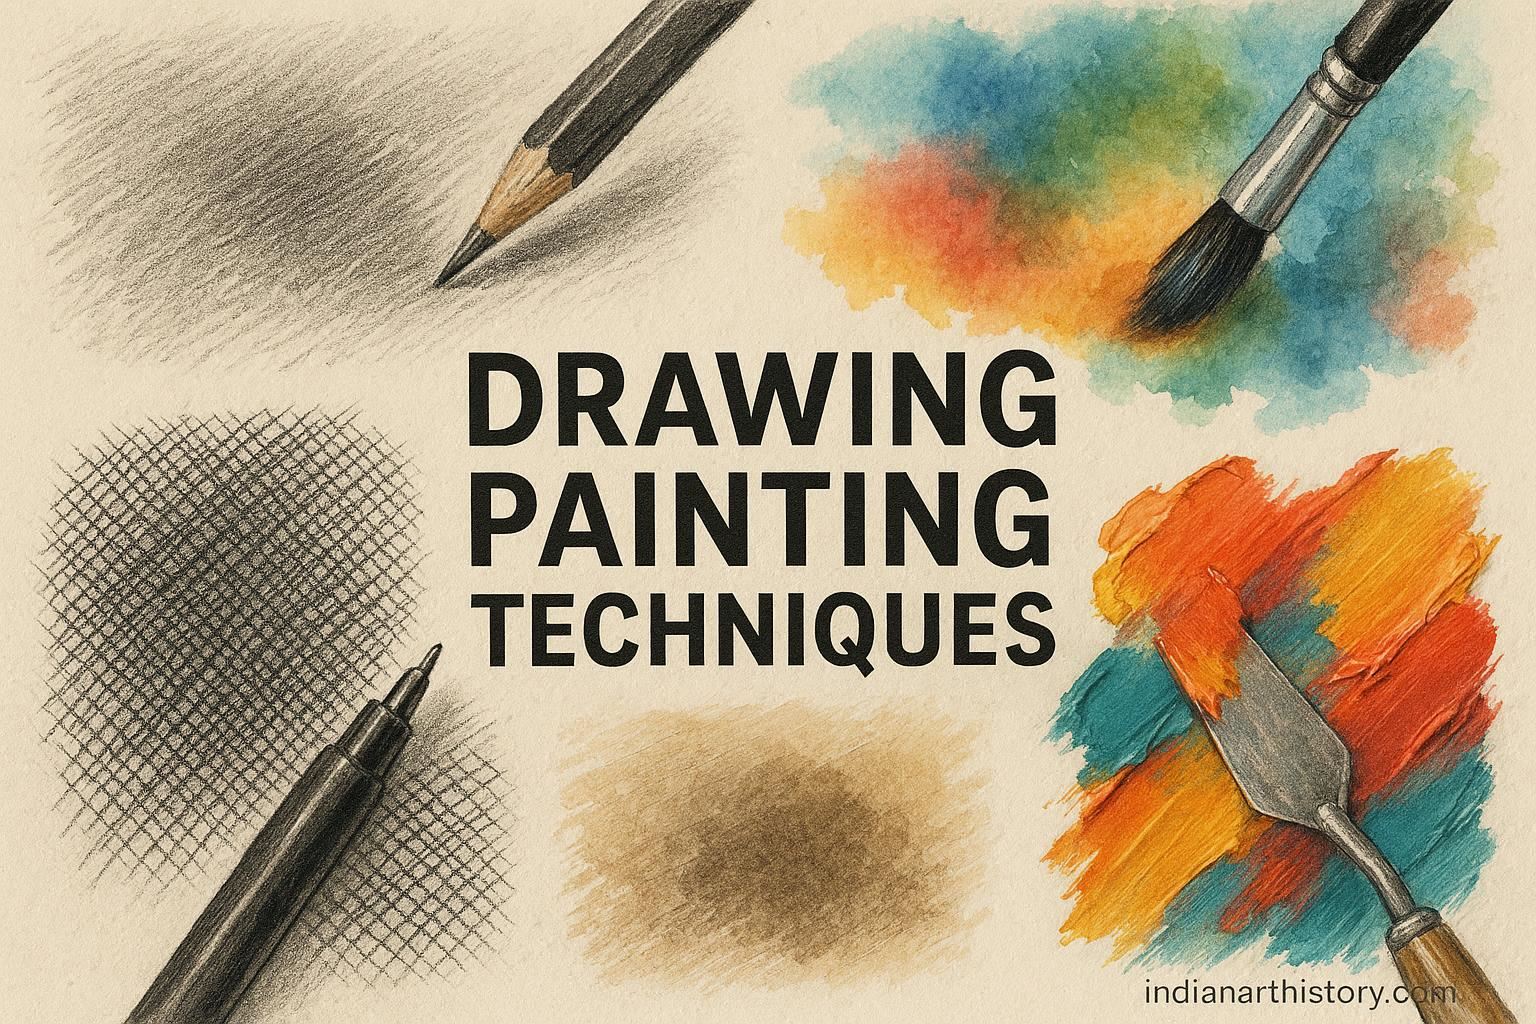
Mastering drawing and painting requires understanding fundamental techniques that have been refined over centuries. Whether you’re a beginner or advancing your skills, these core methods form the foundation of visual art.
Table of Contents
Drawing Techniques
Basic Mark-Making
Line Work Lines are the foundation of drawing. Practice varying line weight (thickness) to create depth and emphasis. Contour drawing involves following the edges of forms without lifting your pencil, training your eye-hand coordination. Blind contour drawing (without looking at the paper) sharpens observational skills, while cross-contour lines wrap around forms to suggest volume.
Hatching and Cross-Hatching Hatching uses parallel lines to create tone and texture. The closer the lines, the darker the value. Cross-hatching layers lines in different directions, building up darker tones and creating complex textures. Vary the angle, spacing, and density to achieve different effects.
Stippling This technique uses dots to create tone and texture. Denser dot clusters create darker areas, while sparse dots suggest lighter tones. Stippling demands patience but produces distinctive, precise results.
Shading and Value
Blending Smooth gradations create realistic three-dimensional forms. Use blending stumps, tortillons, tissues, or your fingers to soften graphite, charcoal, or pastel. The key is building up layers gradually, working from light to dark.
Chiaroscuro This dramatic technique emphasizes strong contrasts between light and dark. Developed during the Renaissance, chiaroscuro creates powerful three-dimensional effects by mapping light sources carefully and rendering deep shadows against bright highlights.
Tonal Modeling Understanding the five elements of shading brings forms to life: highlight (brightest point), midtone (local color), core shadow (darkest area on the object), reflected light (light bouncing back into shadows), and cast shadow (shadow the object projects). Observe how light wraps around forms and practice rendering spheres, cylinders, and cubes before tackling complex subjects.
Perspective and Composition
Linear Perspective One-point perspective uses a single vanishing point on the horizon line, ideal for roads or hallways. Two-point perspective employs two vanishing points, perfect for architectural drawings and corner views. Three-point perspective adds a third vanishing point above or below for dramatic bird’s-eye or worm’s-eye views.
Atmospheric Perspective Distant objects appear lighter, less detailed, and bluer due to atmospheric haze. Use softer edges, reduced contrast, and cooler colors for background elements to create depth.
Compositional Rules The rule of thirds divides your picture plane into a 3×3 grid, placing focal points at intersections for dynamic compositions. Leading lines guide the viewer’s eye through the artwork. Balance positive space (subjects) with negative space (empty areas) to create visual harmony.
Gesture Drawing
Quick sketches (30 seconds to 5 minutes) capture movement, energy, and essential forms. Don’t focus on details; instead, feel the rhythm and flow of your subject. Gesture drawing develops intuitive understanding of anatomy, proportion, and dynamics. Practice regularly with live models, animals, or people in motion.
Measuring and Proportion
Use your pencil as a measuring tool, holding it at arm’s length to compare sizes and angles. The “sight-size” method involves measuring subjects directly as they appear to your eye. Understanding anatomical proportions (the human figure is roughly 7-8 heads tall) provides structural frameworks while allowing for individual variation.
Painting Techniques
Oil Painting
Fat Over Lean This fundamental principle prevents cracking. “Lean” paint (with less oil) dries faster and should be applied first. Each successive layer should contain more oil (“fat”), drying slower but remaining flexible. Add linseed oil or painting medium to increase fat content in upper layers.
Alla Prima (Wet-on-Wet) Paint directly in one session while the paint remains wet, blending colors directly on the canvas. This spontaneous technique captures freshness and immediacy. Impressionists favored this approach for plein air painting.
Glazing Apply thin, transparent layers of paint over dried layers, creating luminous depth and rich colors. Each glaze modifies underlying colors without obscuring them. Old Masters used glazing extensively, building up complex flesh tones and atmospheric effects over many sessions.
Impasto Apply thick paint with brushes or palette knives, creating textured, sculptural surfaces. Impasto adds physicality and catches light dramatically. Van Gogh’s swirling strokes exemplify this technique’s expressive power.
Scumbling Drag semi-opaque light paint over dried darker layers, allowing undertones to show through. This creates atmospheric, weathered, or aged effects.
Acrylic Painting

Layering and Building Acrylics dry quickly, enabling rapid layer buildup. Work thin to thick, establishing compositions with diluted washes before adding opaque details. Use retarders to slow drying time when needed.
Glazing with Acrylics Mix acrylic glazing medium with paint for transparent layers. Unlike oils, acrylic glazes dry quickly, allowing multiple layers in one session.
Blending Work quickly while paint is wet, using soft brushes or spray bottles to keep edges workable. Blending medium extends working time for smoother gradations.
Watercolor
Wet-on-Wet Apply paint to wet paper or wet paint, creating soft, bleeding edges and atmospheric effects. Control depends on paper dampness and paint consistency. Perfect for skies, water, and dreamy backgrounds.
Wet-on-Dry Paint on dry paper for crisp edges and precise details. This technique offers maximum control and is ideal for detailed work and sharp contrasts.
Dry Brush Use minimal water with concentrated pigment on dry paper, creating textured, broken strokes. Excellent for suggesting grass, wood grain, or weathered surfaces.
Lifting and Removing While wet, blot with tissues or sponges to lighten areas or create clouds. Once dry, rewet and lift paint with clean brushes or sponges for corrections or highlights.
Masking Apply masking fluid to preserve white paper in specific areas. Once surrounding areas are painted and dry, remove the mask to reveal pristine whites for highlights or details.
Variegated Washes Blend multiple colors while wet, creating gradual transitions. Tilt paper to encourage flowing and mingling. Essential for sunsets, gradients, and natural color transitions.
Gouache
This opaque watercolor allows working light over dark. Layer colors densely without transparency showing through. Excellent for flat, graphic illustrations and matte finishes. Rewettable like watercolor but with covering power approaching acrylics.
Color Techniques
Color Mixing Understand primary colors (red, yellow, blue) and how they combine to create secondaries (orange, green, purple). Tertiary colors result from mixing primaries with secondaries. Learn color bias—some reds lean orange, others purple—affecting mixtures.
Color Temperature Warm colors (reds, oranges, yellows) advance visually; cool colors (blues, greens, purples) recede. Use temperature shifts to create depth. Warm lights typically cast cool shadows and vice versa.
Limited Palette Working with just 3-5 colors plus white creates harmony and forces you to understand color relationships. Many masters used limited palettes to maintain unity.
Underpainting Establish values with monochrome or limited color before adding final colors. Burnt sienna or raw umber underpaintings provide warm foundations. Verdaccio (greenish-gray) was traditionally used for flesh tones.
Brush Techniques
Drybrush Use minimal paint on nearly dry brushes for textured, scratchy marks. Reveals canvas texture and creates interesting broken color effects.
Scumbling with Brushes Lightly drag paint across surfaces with stiff brushes, depositing color irregularly. Creates atmospheric effects and suggestions of texture.
Brush Loading Load different colors on different parts of your brush for varied strokes containing multiple hues. Filbert brushes work well for this technique.
Flicking and Spattering Tap loaded brushes or use old toothbrushes to create texture, suggesting foliage, stars, or abstract energy.
Advanced Techniques
Grisaille Complete paintings in monochrome (usually gray) to establish values before adding color through glazes. This method ensures strong underlying structure.
Pointillism Apply small dots of pure color that optically mix when viewed from distance. Developed by Neo-Impressionists like Seurat, this technique creates luminous, vibrating surfaces.
Sgraffito Scratch through wet paint layers to reveal underpainting or canvas. Creates lines, textures, and details impossible with brushes alone.
Mixed Media Combine different materials—collage elements, inks, pastels, pencils—with paint. Ensure compatibility and archival stability when mixing media.
Practical Considerations
Surface Preparation Canvas, paper, or panels require proper priming. Gesso provides tooth for paint adhesion. Toned grounds (middle-value colored primers) help judge values accurately and can show through final paintings as unifying elements.
Tool Selection Different brushes serve different purposes. Flats for broad strokes, rounds for detail, filberts for versatility, fans for blending. Natural hair holds more paint but synthetics work well with acrylics and are more durable.
Paint Consistency Adjust paint thickness with appropriate mediums or water. Thin paint flows and glazes, thick paint creates texture and opacity. Understanding consistency control is crucial across all painting media.
Value Studies Before painting, create small grayscale studies to solve compositional and tonal problems. Strong value structure ensures successful paintings regardless of color choices.
Practice Regimen Draw daily, even briefly. Fill sketchbooks with observations, studies, and experiments. Copy master works to understand their techniques. Paint from life whenever possible—photographs flatten forms and distort color relationships.
Conclusion
These techniques are tools, not rules. Understanding them provides options and control, but personal vision determines how you apply them. Experiment freely, combine methods inventively, and develop your unique voice. Technical mastery serves creative expression—the two grow together through consistent, thoughtful practice. Start with fundamentals, build gradually, and never stop observing the world around you with an artist’s curious eye.